-Research-
This is some of the research I did before deciding that I would make a wrench holder.
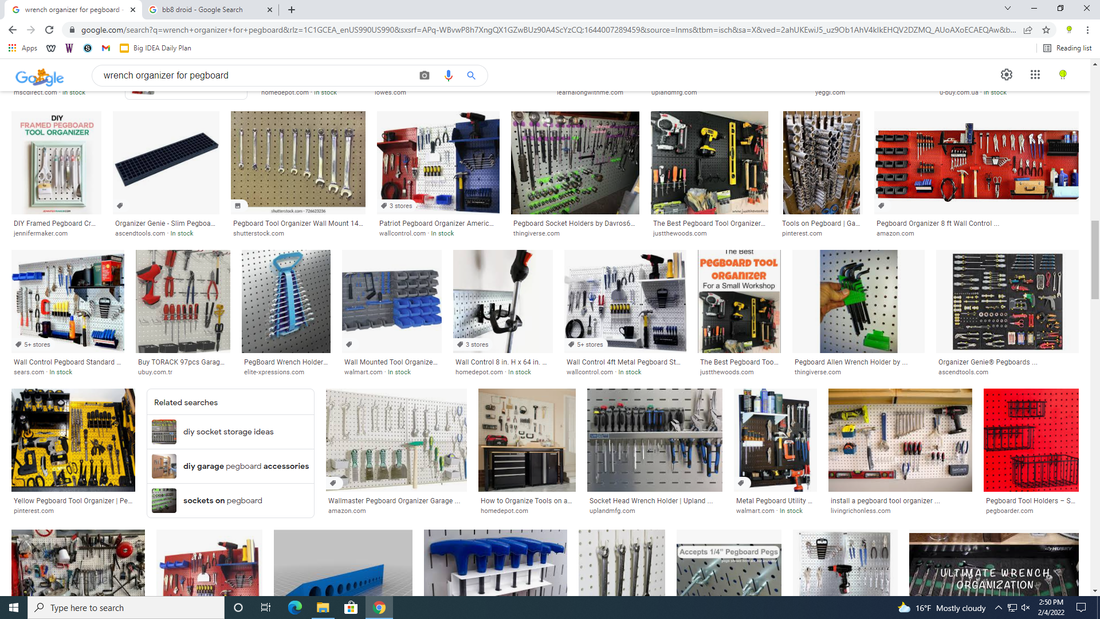
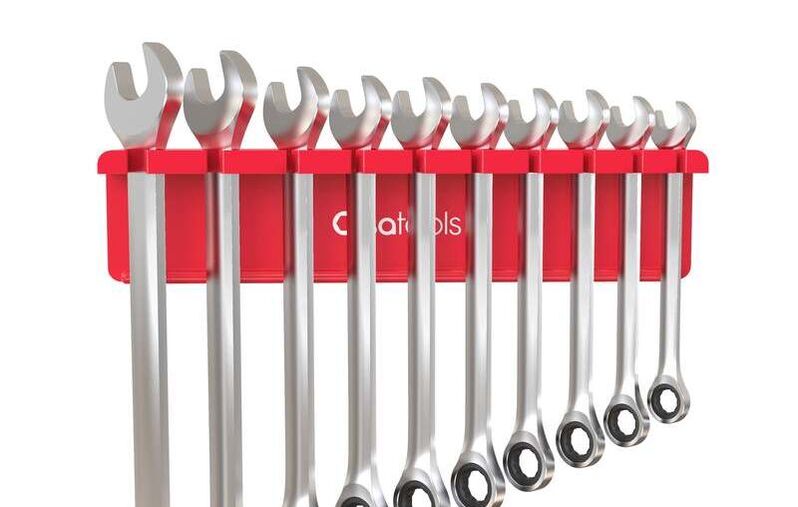
Other ideas on the market
|
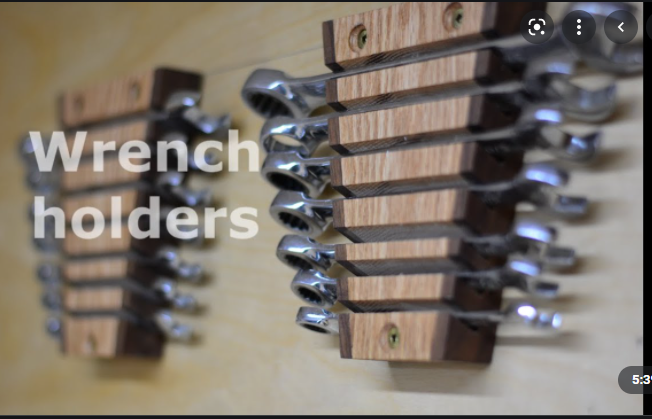
Inspiration picture
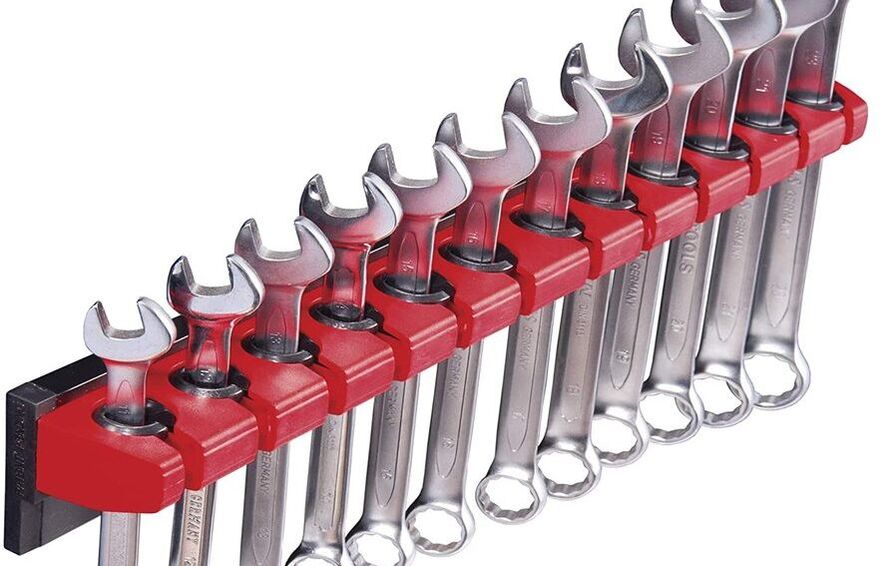
Other ideas on the market
|
|
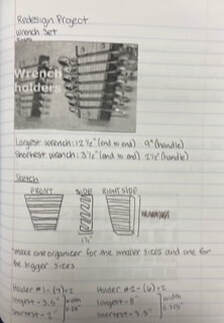
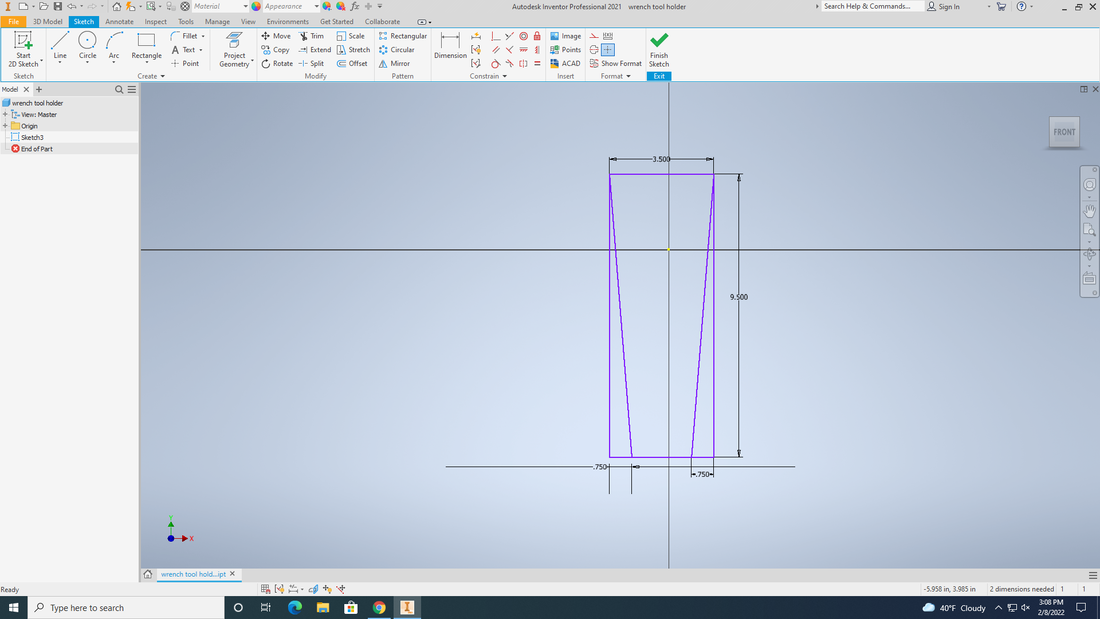
-First Print-
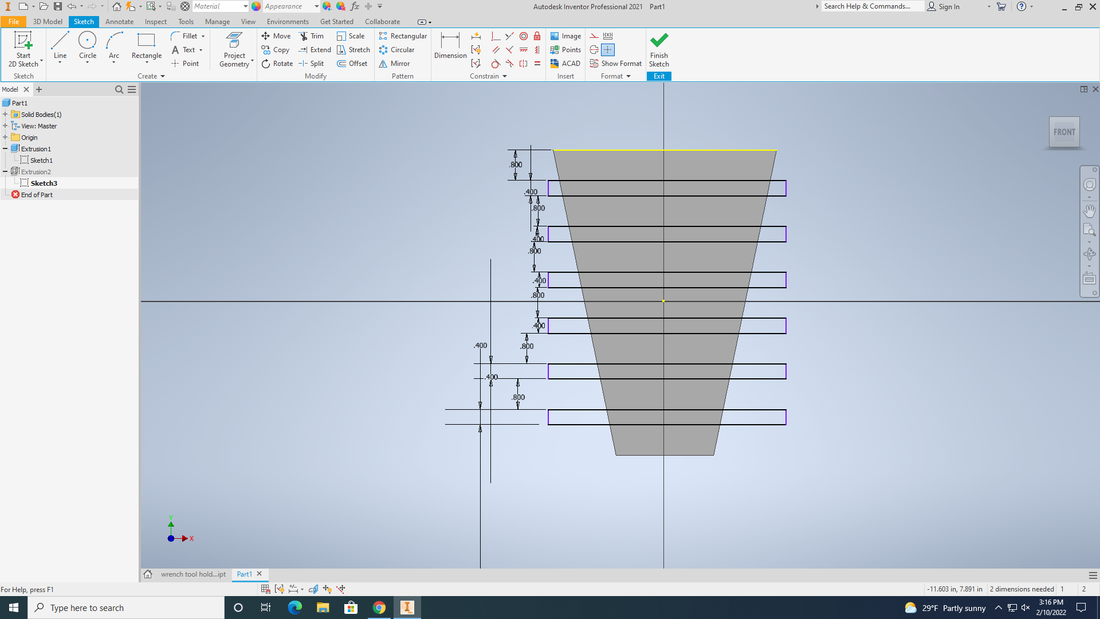
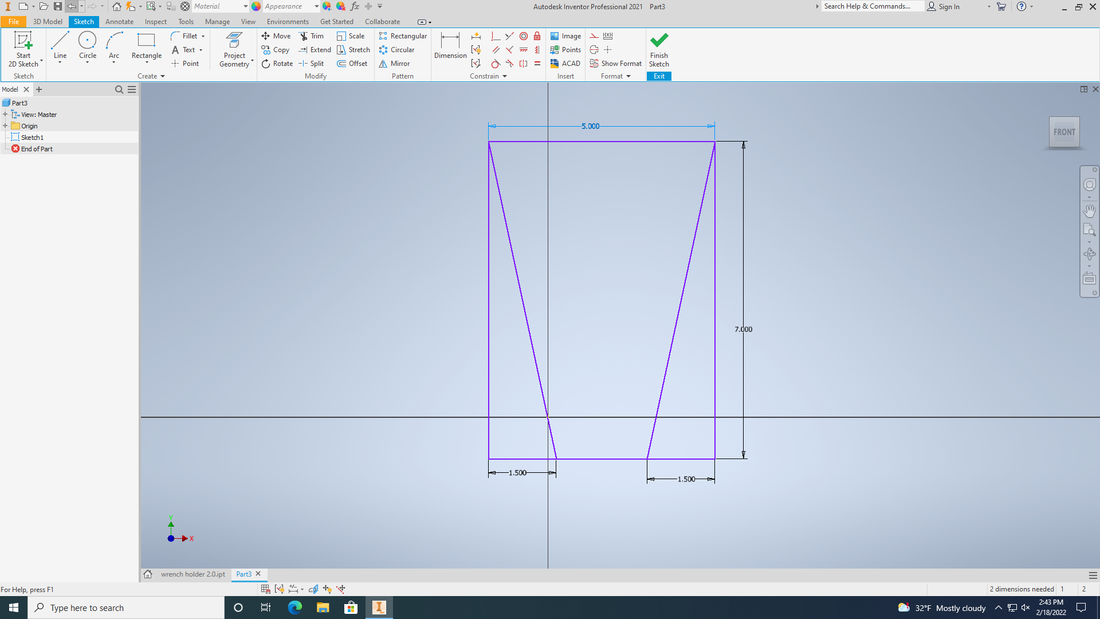
For my first print I had two sizes of the part, one for larger prints and another for smaller prints. I started with rectangle and added two lines to create a upside down trapezoid.
|
|
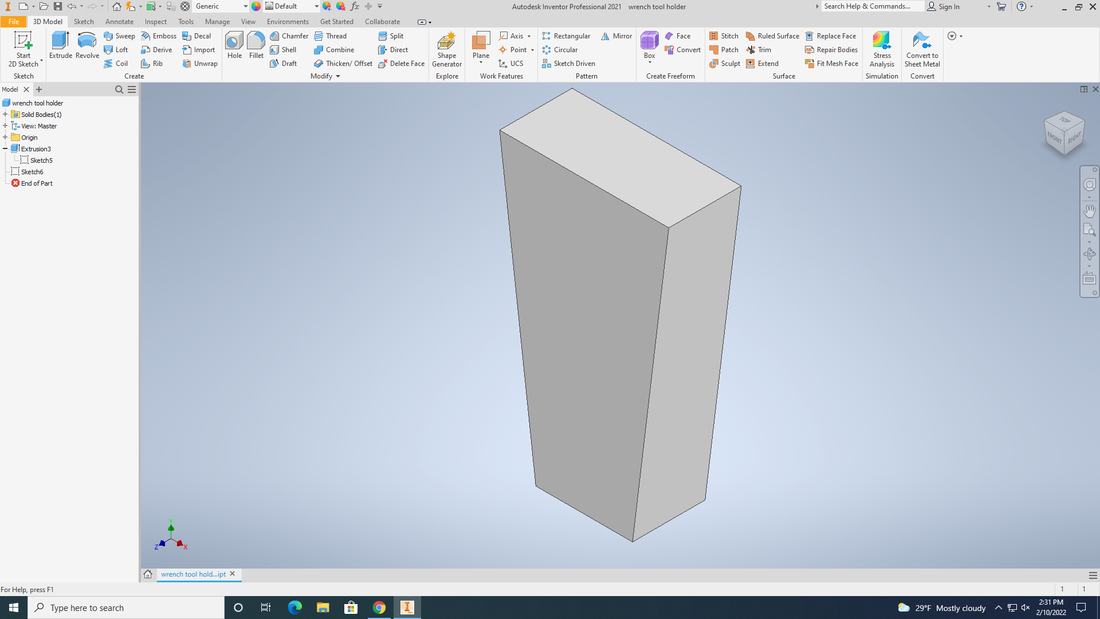
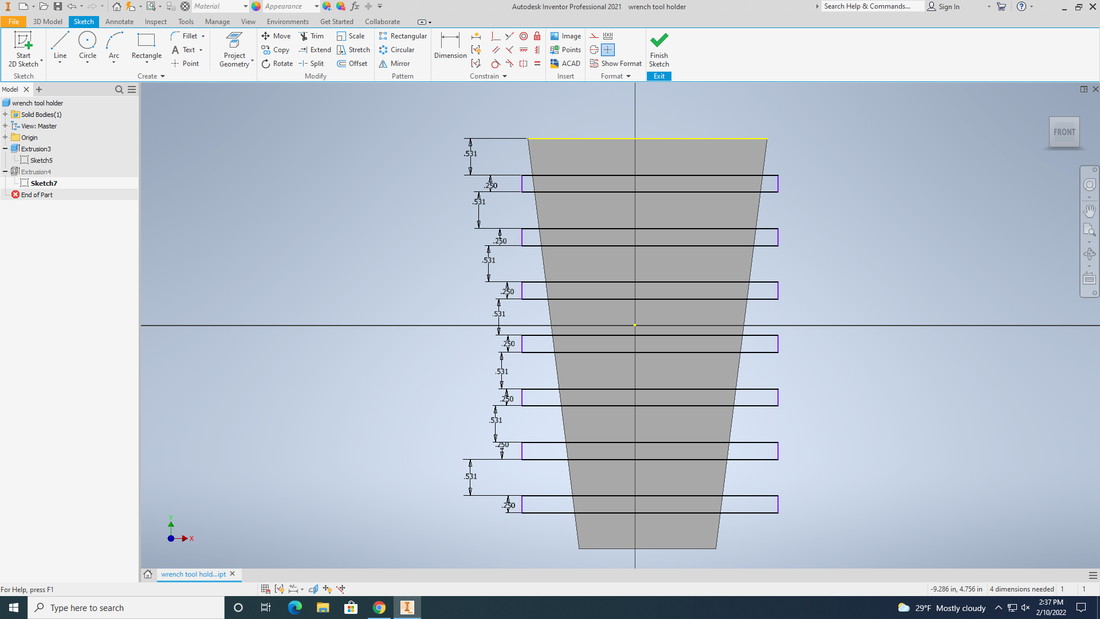
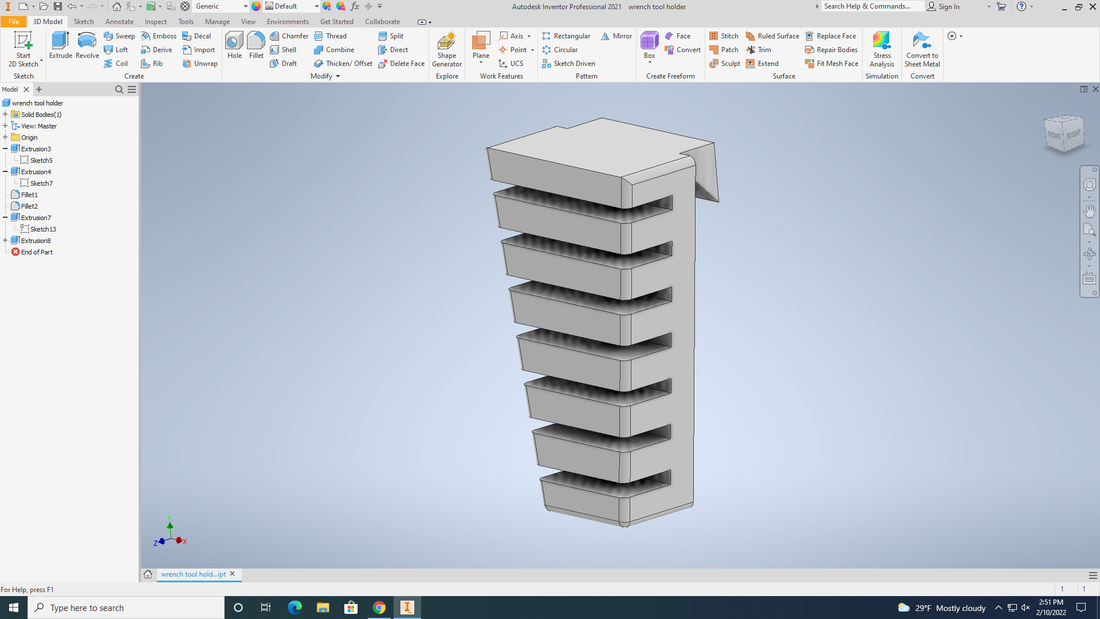
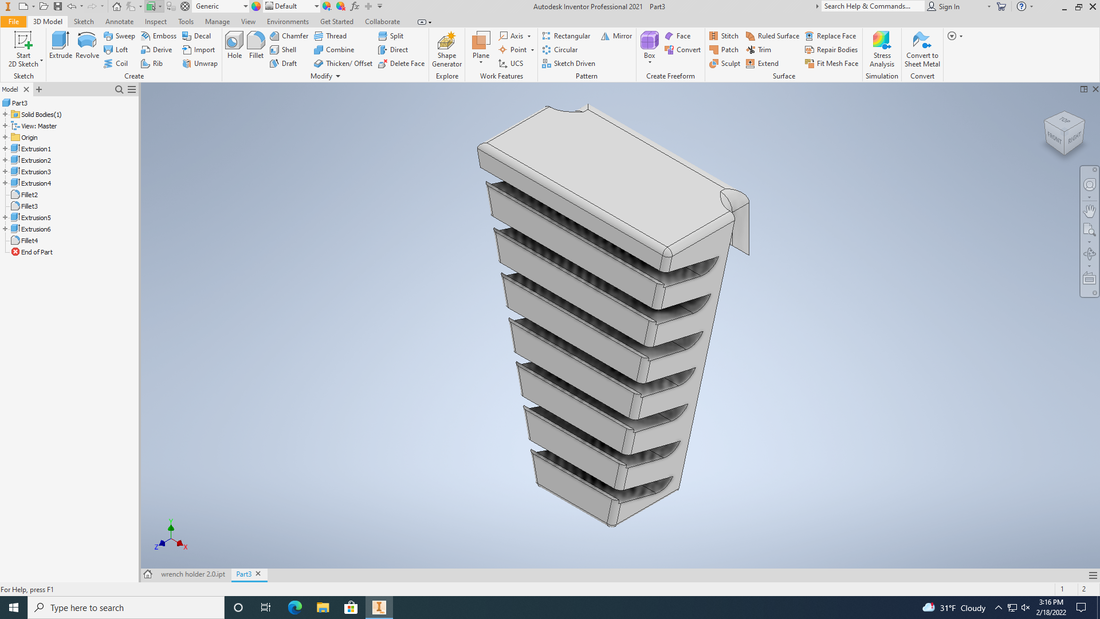
Then I added seven slots on the smaller holder and 6 on the larger holder for the wrenches to slide into. After I added the slots I extruded them inwards an inch. Then I filleted the edges so there are no sharp or harsh corners.
Smaller wrench holder
|
Large wrench holder
|
Then I added a french cleat on the back so it will hang down from the wall.
Small wrench holder
|

|
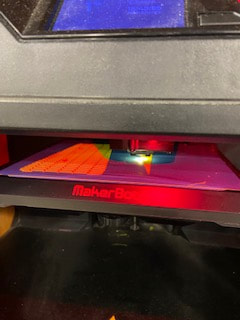
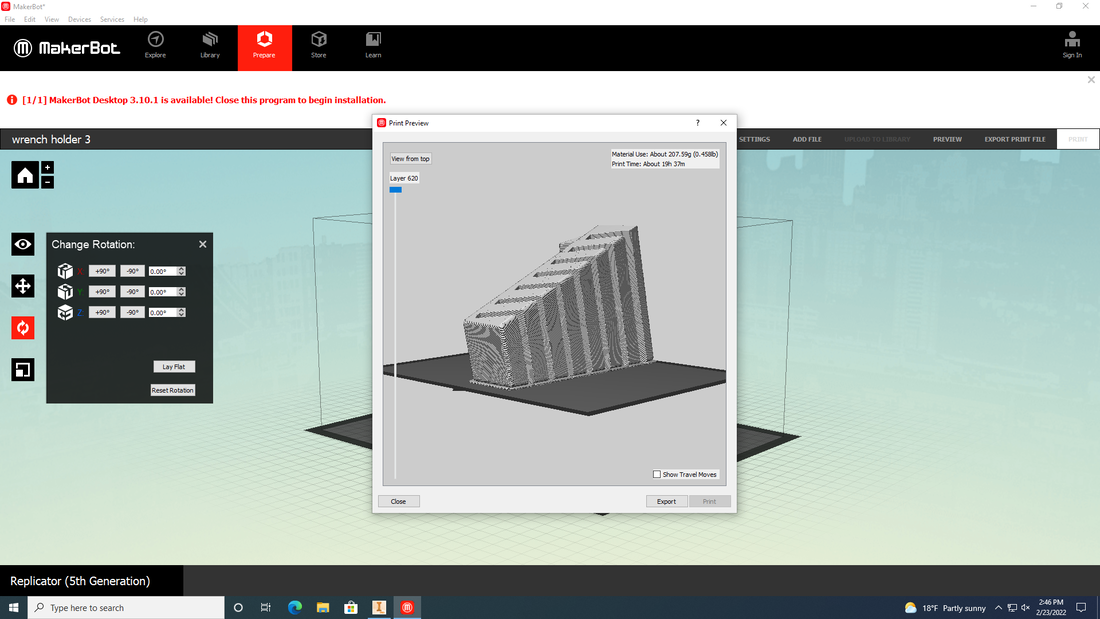
Raft being printed
|
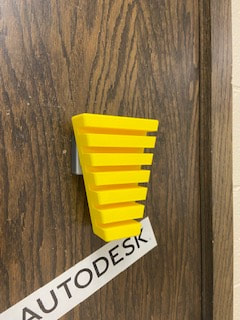
Large wrench holder hanging off the french cleat.
|
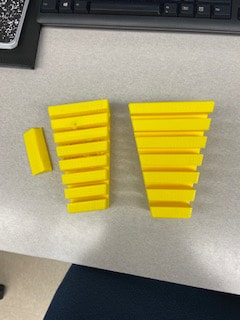
The small holder didn't print super well but the large one did.
|
-Second Print-
For my second print I decided to make one part that would be printed multiple times to hold all the wrenches. I also made small adjustments like putting the slots at an angle and adding a small lip so the wrenches wouldn't fall out as easily. I also made different sized slots so the smaller wrenches would fit better but still be able to fit the larger wrenches. The rest of the steps were the same as my previous print.
|
|
|
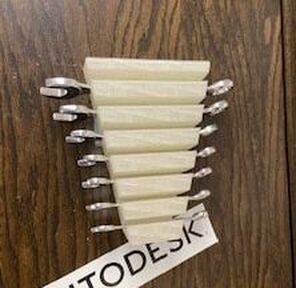
Final part holding wrenches
|
The final part will need to be printed 4 times to be able to hold all 25 wrenches.
