What is my Final Project
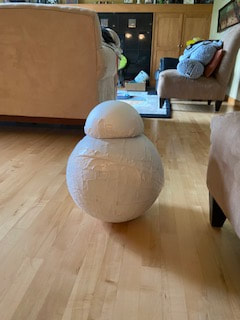
The original idea for my project was to make a functioning BB8 robot. It would use Arduino and a bluetooth module to make it remote control using a phone. I had to create the body of the robot, which involves a large sphere with a half sphere on top. Then create the mechanism that will allow the robot to move without having any wheels showing from the outside. I also had to program the Arduino that will control the robot’s movements. I ended up having the change to original idea since I was running out of time and I was very ambitious in my project goal. The idea I changed it to was still keeping the BB8 robot but it would not be functional, it wouldn't use Arduino to control it remotely. The new project would still look like BB8 and the head will still stay on the way. And then I was going to make a stand using the CNC router but I ran out of time.
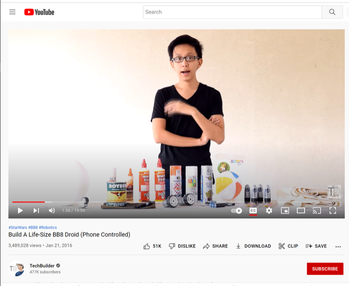
Video I originally was going to follow
|

Website made by the same person in the video
|
Making the Body
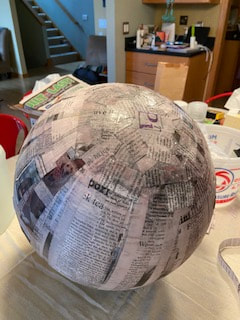
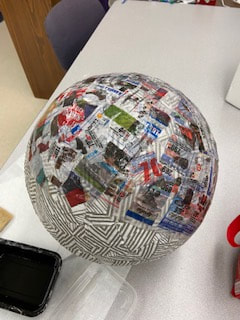
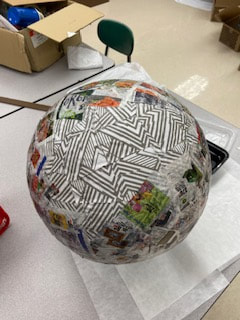
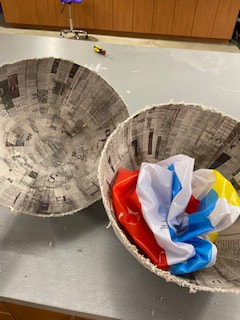
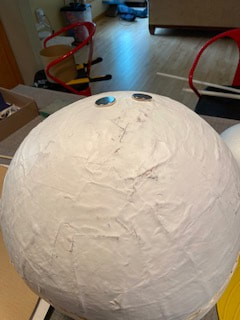
Since I couldn't find a hollow sphere that I was able to cut in half and was large enough I had to paper mache the body of my robot. The materials I needed was a beach ball, newspaper, canvas cloth, glue, spray paint, and a paint brush. I bought a 13 inch beach ball that I would use as a mold to wrap the paper around. Then I cut the newspaper into strips so I could lay them on the ball easier and they would hopefully lay flatter too. Then I laid the strips of paper across the center of the ball and put a layer of glue to hold them down. I put 3-4 layer of newspaper all around the ball, which took a lot longer than I expected it to. After the layer of newspaper was done I put a layer of cloth canvas to help make the shape more solid and sturdy. To do this part I cut the fabric into rough squares so I could lay the pieces down as flat as possible. I am trying to make the surface of the ball as smooth as possible. Then after finishing the layer of canvas I did one last layer of newspaper to help even out the surface. Since after the fabric was dry there was many rough parts on the ball.
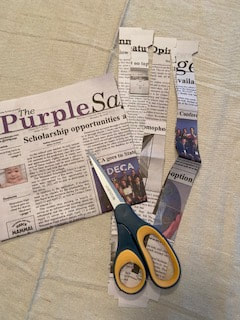
Cutting the paper into strips
|
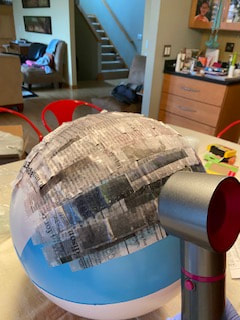
Trying to speed up the drying process
|
Almost done with layer 2
|
Covering the top and bottom of the ball
|
Starting to glue the canvas on
|
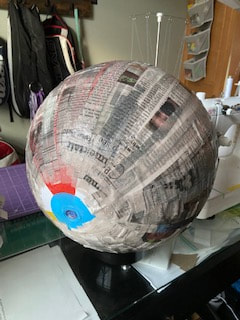
Completely covered in canvas
|
Starting to put a final layer of paper
|
Last section of ball to cover with paper
|
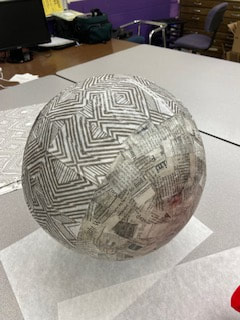
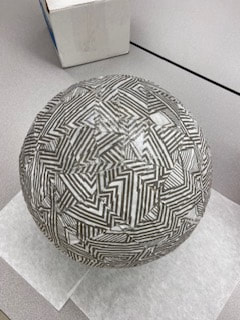
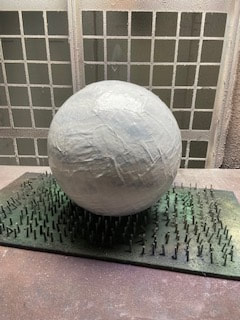
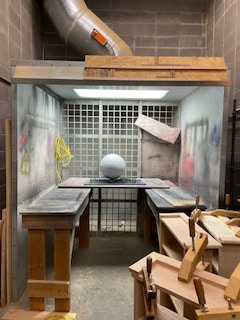
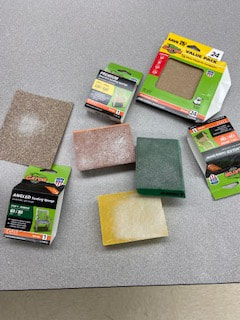
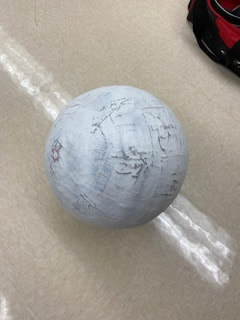
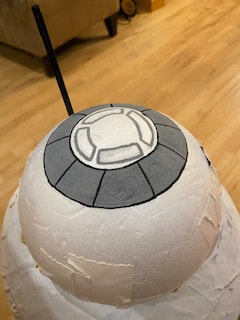
The next step for the body was to spray paint the surface white, so it could have a clean surface to put the details on. To do this I got white spray paint and also a clear matte top coat to seal the paint in. I used the spray painting booth in the woods shop. I had to do a few layer of paint to make sure no newspaper was showing through, then I had to do another few coats after I sanded the ball down to make it smoother.
Second layer of spray paint
|
What the spray painting booth looks like
|
Sandpaper I used
|
After sanding the ball a little bit
|
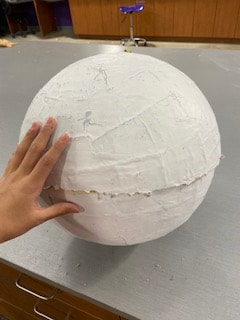
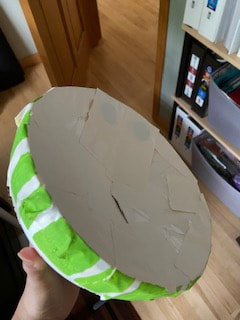
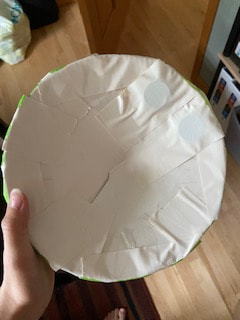
After the last layer of spray paint was dry Mr. Willauer helped cut the ball in half. I'm not exactly sure what the tool he used was called though. It was a little difficult to cut since the beach ball inside made it bouncy and squishy. But once it was cut in half the beach ball peeled away very easily which is what I wanted. The inside was very smooth, which was also very good.
What it looked like after cutting it open
|
The two separate halves put together
|
Making the Inside Mechanism
The mechanism that will keep the head on is the next part for this project. The head will stay on using a magnet inside the sphere that will connect to magnets on the head. The inside part will be on wheels so when I roll the ball the head should stay on top if the inside mechanism is heavy enough.
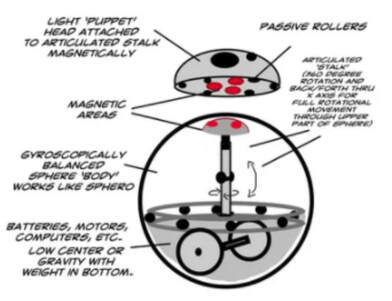
Example diagram
|
This diagram helps show how the robot head should stay on. The red is magnets. The part inside the ball has to weighed down a lot so when it rolls it always stays upright.
|

First step of making the magnet holder on Inventor
|
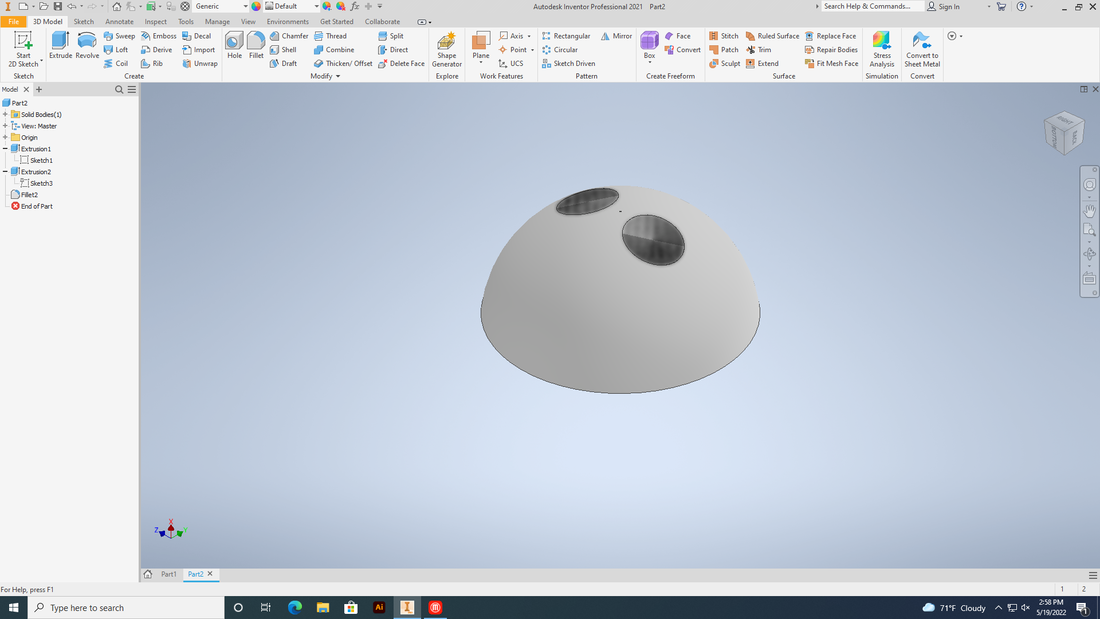
Finished design of the magnet holder
|

Magnet holder in Makerbot
|
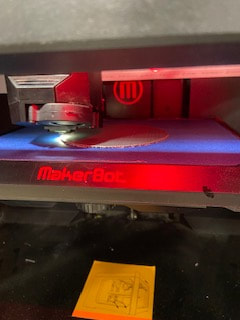
In the process of printing
|
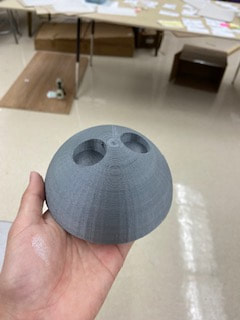
Finished product
|
I had two different versions on the magnet holder, the first prototype I didn't make the holes big enough for the magnets to fit, so I had to make a second one and that one ended up fitting perfectly.
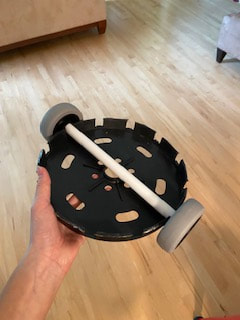
To build the inside mechanism I used weights, zip ties, hot glue, very strong magnets, 3d printed part to hold magnets, wheels, wooden dowel, cardboard roll that big cords come on, and PVC pipe. First I put the wooden dowel in one of the wheels (using it as an axel) and then put the dowel into a PVC pipe. Then put the second wheel onto the other side of the dowel and I took the PVC pipe and attached it to the base ( one of the plastic pieces that came from the cardboard roll). Next I had to add weights so the center of gravity was lower and hopefully making the mechanism able to stand up while it is rolling. I added one weight on the top and multiple smaller weights hanging on the bottom using a few zip ties. Then I glued a slightly larger PVC pipe than the one I used for the axel inside of the magnet that is glued on. Next I glued the second black plastic piece from the cord roll on top of the PVC pipe. And finally on top of the black base I glued the magnet holder that I had already glued the two magnets into.
What the cardboard roll looked like, there was a black plastic circle in the center holding the two ends together and that is what I used
|
Before assembling the mechanism
|
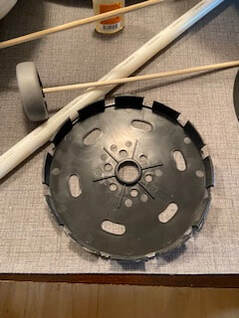
Underside of base
|
Top view of base so far
|
Weight that I glued on top of the base
|
Weights added using zip ties
|
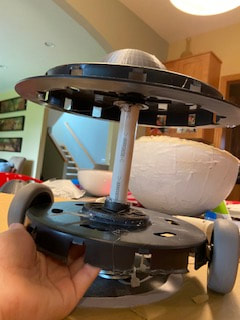
Side view of full mechanism
|
Full mechanism
|
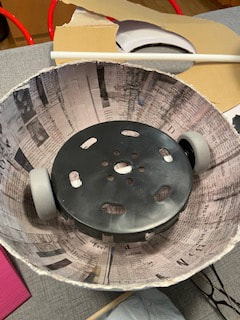
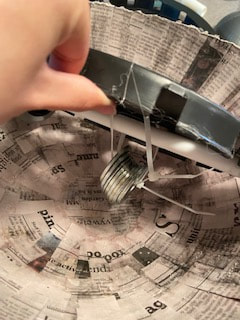
After I finished the inside mechanism I used white duct tape to put the two halves together since glue would not hold it strong enough. I had to put the magnets onto the head. I used a circle of matboard I had cutout on the laser and cut a slit into it using scissors. Then I overlapped the two sides of the cut to make a cone shape, this is to help the head move easier so there isn't as much touching the surface of the body. Then I used hot glue to glue it onto the underside of the head (a hollow styrofoam half sphere) but the glue wasn't strong enough and started to melt the styrfoam so I used white duct tape to secure it better. Then I had to find where the magnets were on the inside so I could put the magnets on the head in the right position. Once I found the position they had to go I taped the magnets onto the head and put it on the body.
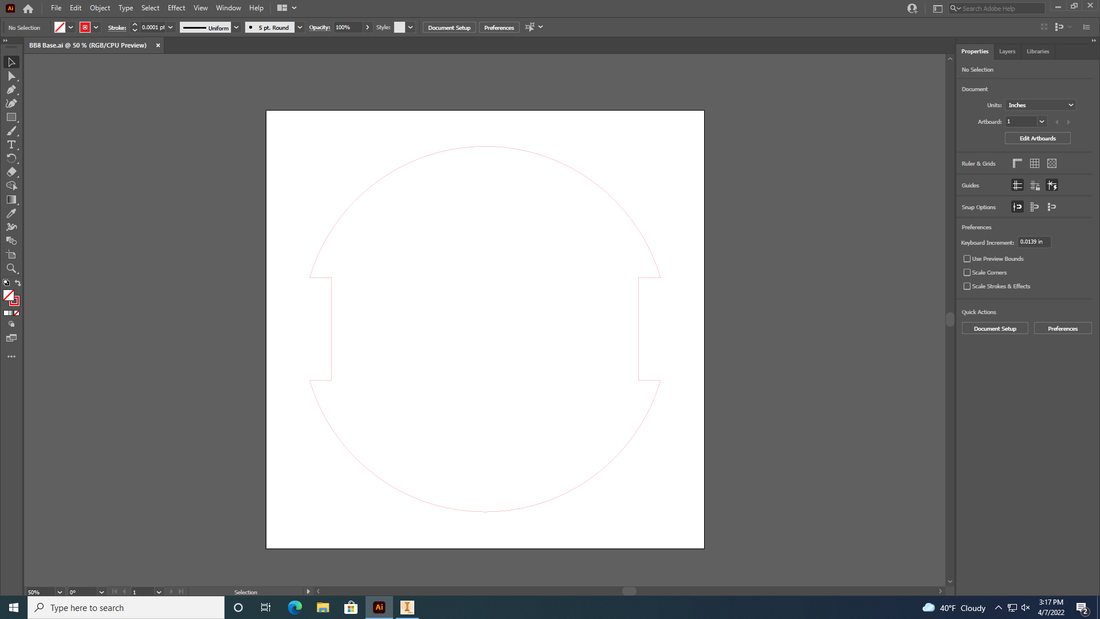
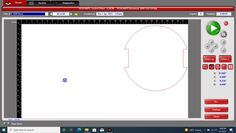
Hard to see in the picture, but this is the circle I cut out of matboard in Illustrator.
|
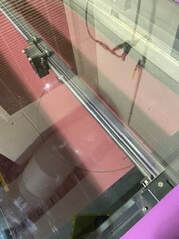
Matboard circle in the laser program
|
Being cut out
|
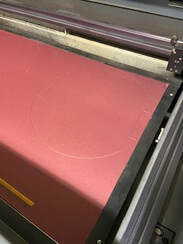
Done being cut out
|
I was originally going to use this circle as the base inside the body, but I realized it was not strong enough and instead I used it for the head.

Two halves taped together
|
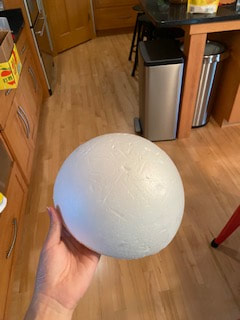
Styrofoam head
|
Finding the position for the magnets
|
Dome shape on the bottom of the head
|
The magnets taped in
|
Standing BB8
|
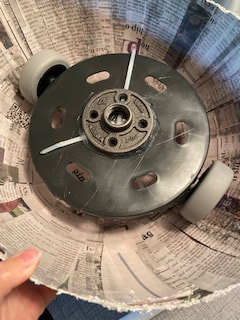
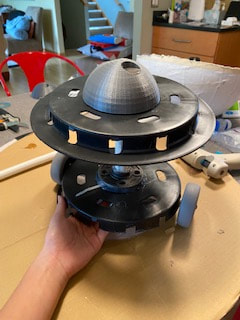
Also the mechanism inside the body ended up breaking, the part that held the magnets on ended up falling off the pipe so the head does not stay on if you roll the body. But the head does still stay on if you find the magnets inside the ball.
Details

Reference photo I used
|
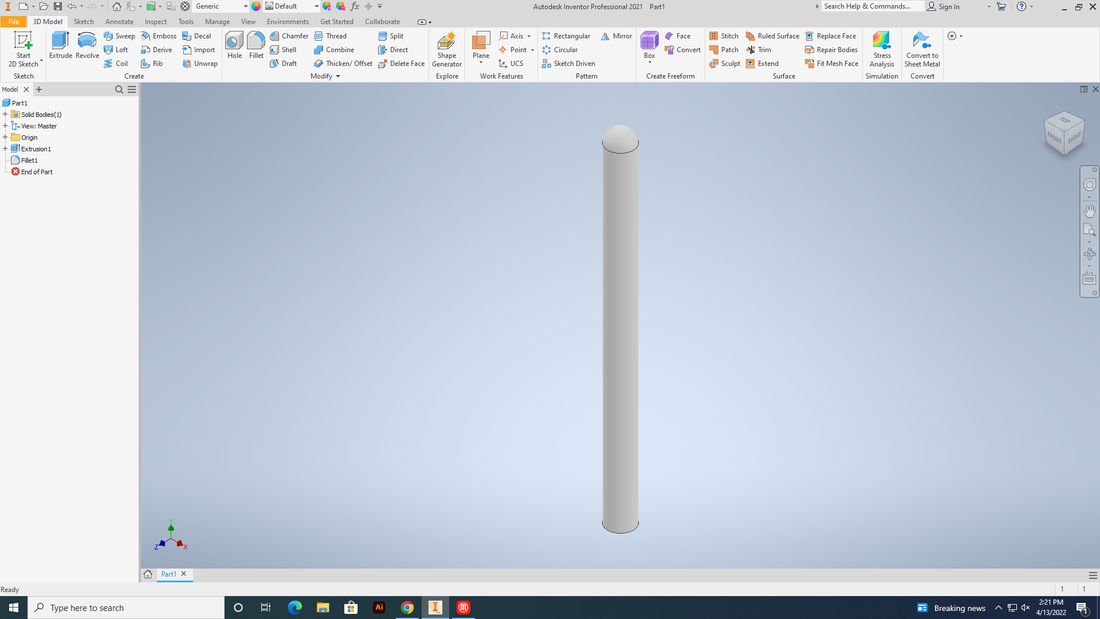
The antenna in Inventor
|
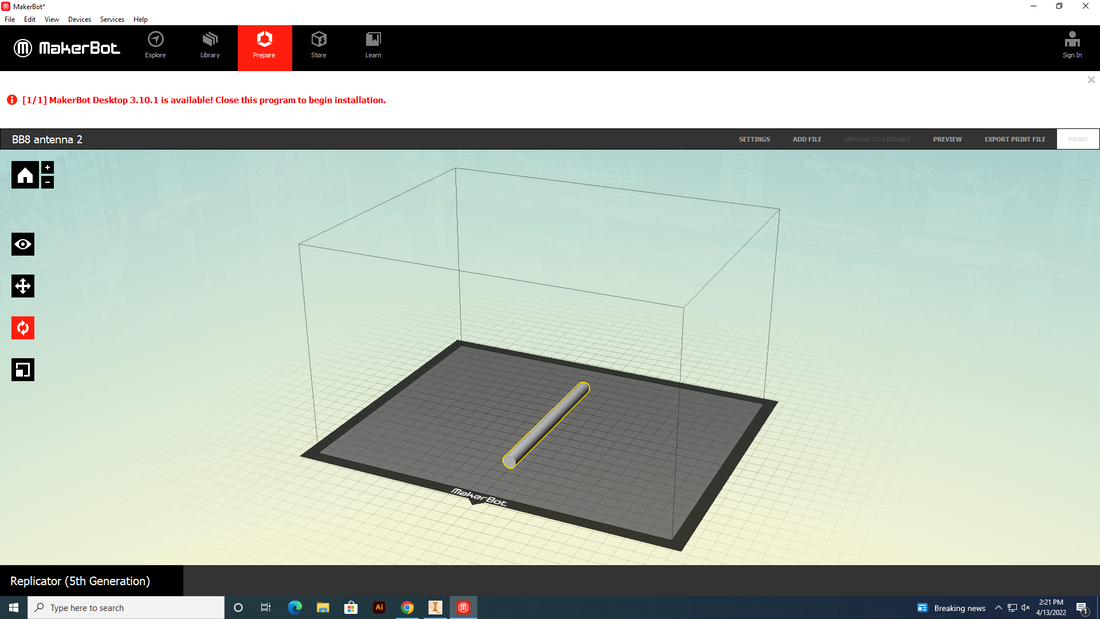
The antenna in Makerbot before printing
|
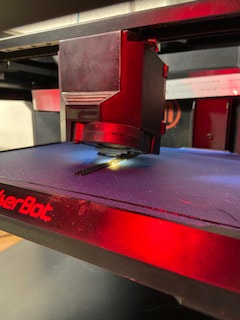
Process of being printed
|
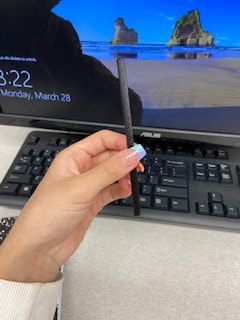
Finished antenna
|
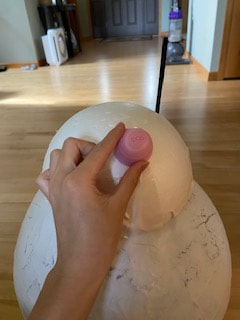
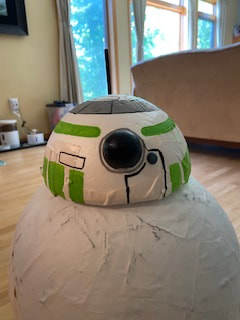
For the small details I used a posca pen (acrylic paint pen), 3d printed antenna, hot glue, and an EOS lip balm. I was originally going to use the 3d printer to print out a half sphere to use as BB8's lens, but I ran out of time and wasn't able to use the machines anymore. So I found an EOS lip balm and took the cap off, then I painted it black and also put a layer of mod podge on top since the paint was chipping off. Then for the second smaller lens I used my hot glue gun and created many different sized glue dots. Then I peeled them off the wax paper and picked the one I thought looked best. Then I painted the underside of the glue dot so it looked shiny on the top since the paint makes it look matte. Then I took some posca pens in green, grey, black, and white and drew on the details. I decided to do green instead of orange since I didn't want the robot to be exactly the same colors. Then I hand drew the details on the head, I also ended sticking the antenna into the foam instead of gluing it since the glue was melting the foam.
Testing the how it will look
|
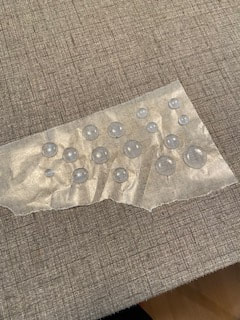
Glue dots for the small lens
|
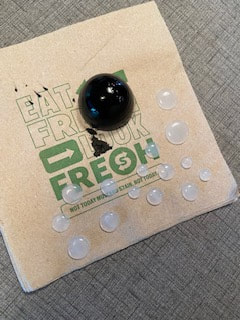
Painted big lens and options for the small lens
|
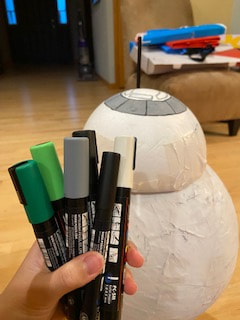
Color theme
|
Starting at the top
|

Top view
|
Front view
|
What I learned
While trying to complete this project I learned a lot of things. One of the big things I learned was time management. I had the whole semester to work on my project and I thought that was plenty of time to finish it. In reality it wasn't a lot of time at all. In the beginning of the semester I was working on Arduino mainly and my project wasn't getting done. I thought I had so much time to do everything but as it got closer to the end I realized I didn't use my time super well in the start. I was working and being productive but I wasn't using my time as well as I could've. I regret that now since the project was a lot more work and took a lot of time that I originally thought. I barely got it done (not even 100% done still) and I wish I could go back in time and tell myself to manage my time better since my project could've been done a lot better. Towards the end of the semester I did start using my time better and I came in for a lot of contact times, but how I used my time in the beginning hurt me at the end.
Another thing I learned was to set more reasonable goals with the time allotted. I didn't think the goal I set myself was too ambitious at first since I was thinking about how I had the entire semester to finish. A semester is not a very long time at all and it went by super fast. The goals I had set previously were not reasonable for my skill level and I also under estimated the amount of work it would take. For example the amount of drying time for the paper mache and just getting it done in general was most of the project, in my gantt chart I had originally set myself to work on the paper mache for a few weeks, but it ended up taking way longer. I also did not have enough skill to make the Arduino portion of the robot, I had never used it before and I was giving myself way too much credit for what I am able to do.
All in all this project was a really good learning experience for me. I hope for future projects I am able to use my time better and also set more realistic goals. But I did really enjoy this project and all the different challenges and experiences I had throughout the semester. I definitely learned a lot from my mistakes during this whole experience, and I think what I learned is very important and a main take away from this whole project.
