-Clock-
For this final project I will be using the 3D printer for the base to hold my clock, laser to cut out my clock face and engrave name on back, and the vinyl machine to create the numbers for the clock face.
|
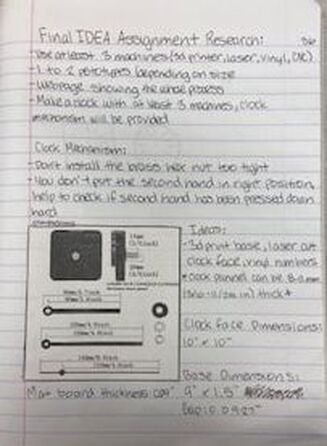
For the final project I wrote down all the requirements and measurements of the clock mechanism.
This is the notes I wrote down and with dimensions of my base and face for the clock. |
|
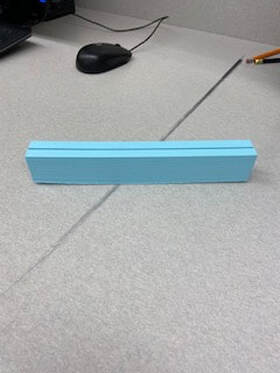
-3D Printer-
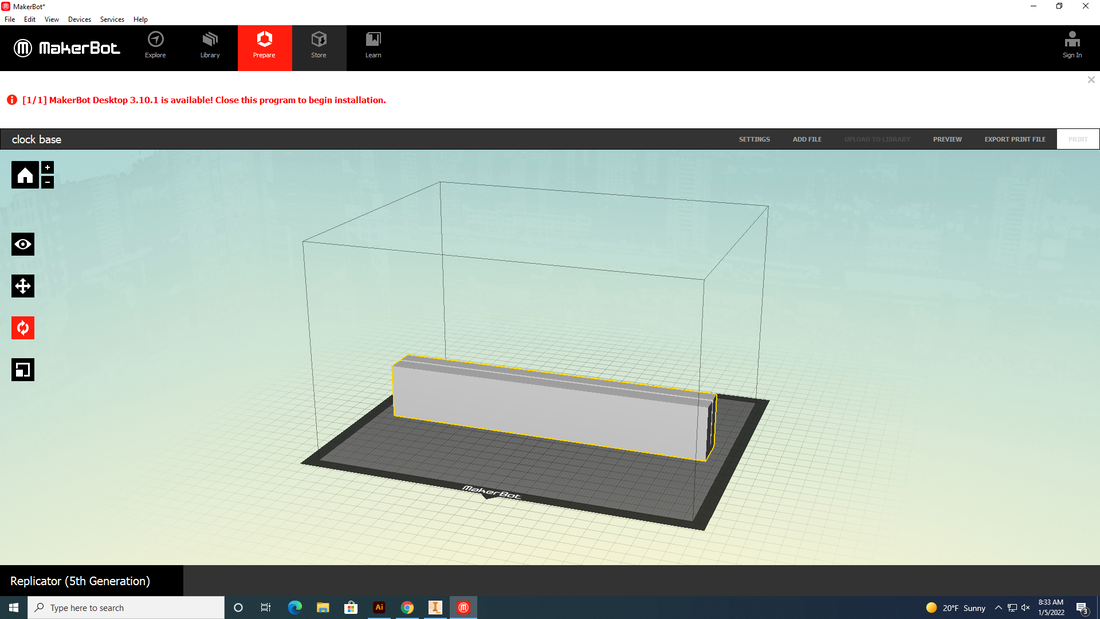
I created my base on Inventor, I started with a rectangle that is 9"x1.5", then I extruded the shape 1". The I started a new sketch and added a small rectangle on the side that was 3% thicker than the actual thickness of the mat board.
|
|
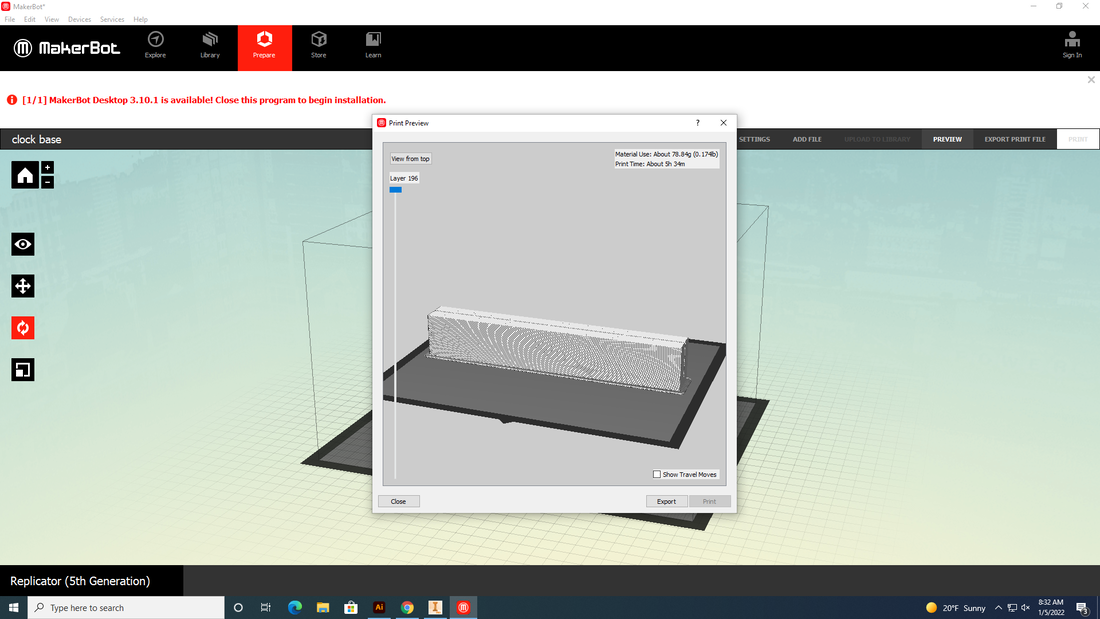
This is my clock base printing, it is creating the raft so it is not the actual base yet. Once it finished printing I checked to make sure the mat board would fit into the slot I made.
|
|
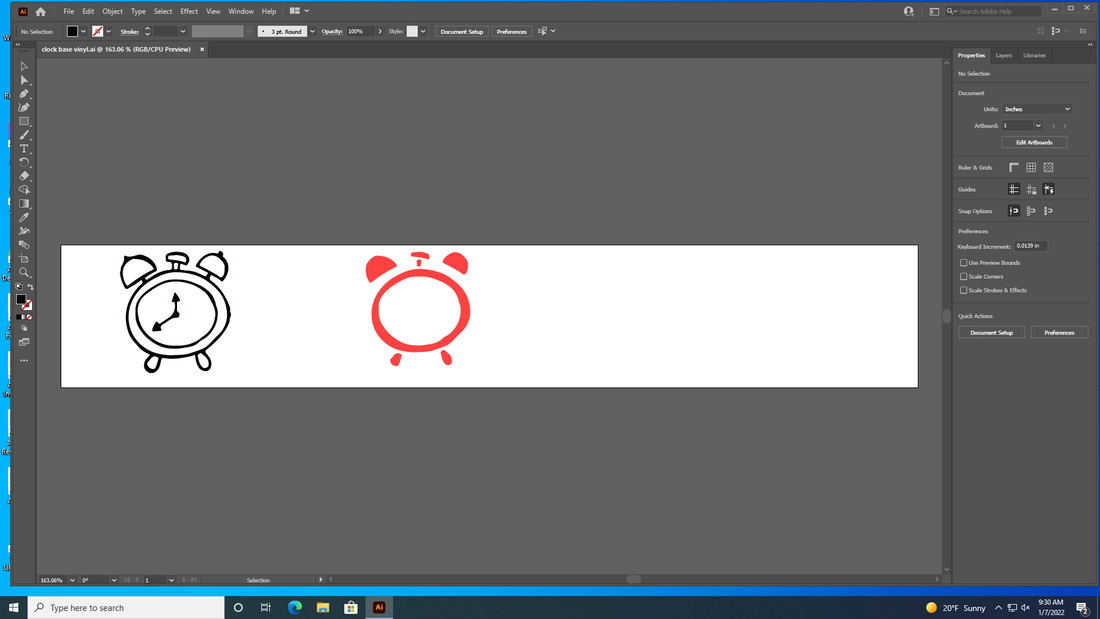
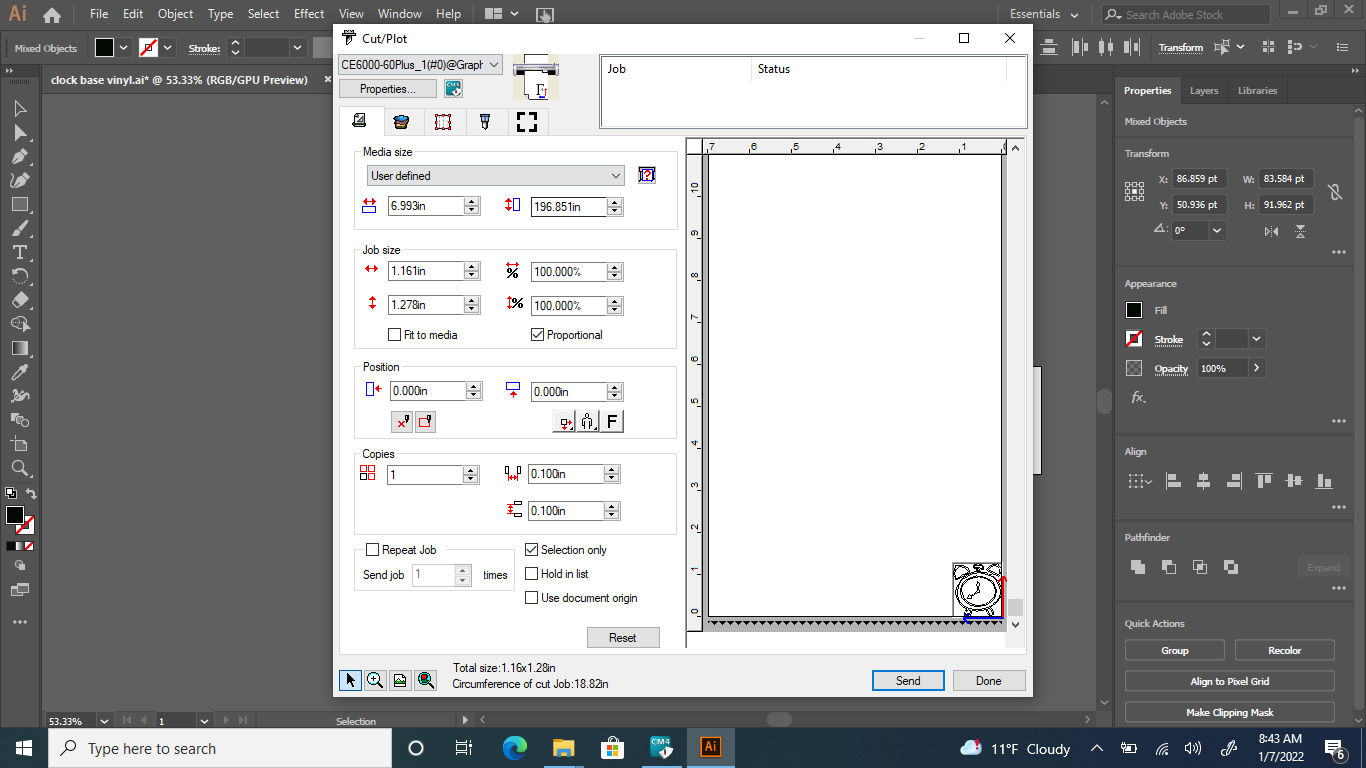
-Vinyl Machine-
The second part of my clock I used the vinyl machine, I chose an image of a clip art clock on google and copied the picture into Illustrator. I separated the different colors of the image and then put the file onto my flash drive. Then I opened the file on the computer connected to the vinyl machine and set up the machine to cut it out.
|
|
|
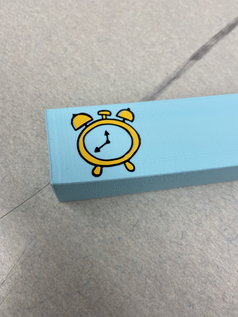
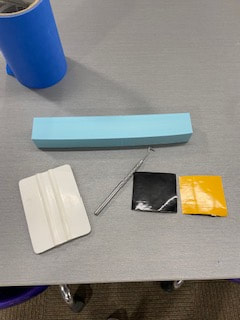
Vinyl put onto clock base
|
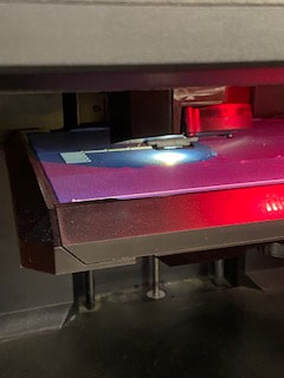
-Laser-
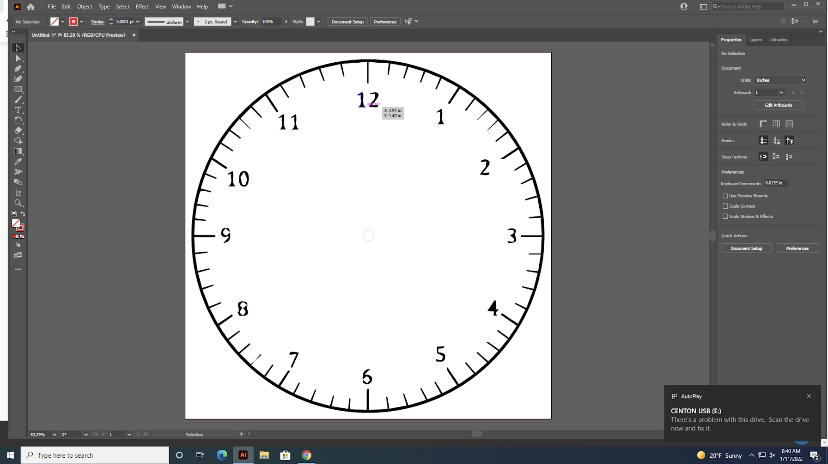
The last machine I used was the laser, I used this machine to engrave the numbers onto the clock face and also cut out the clock face. I found an image of a clock on google and put it into Illustrator, then I sized everything and made the lines the right width and colors for the laser to use.

|
|
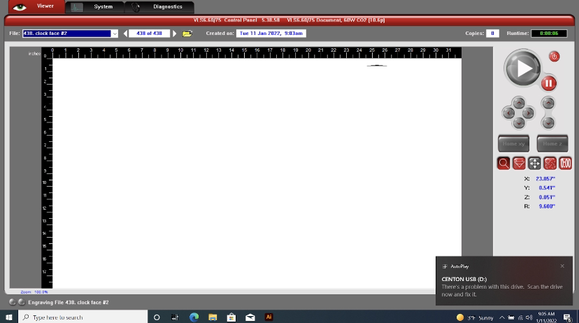
Using the UCP software
|
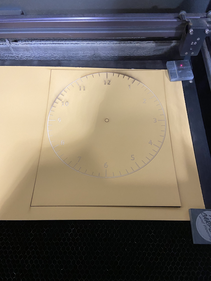
After the face had been cut out using the laser
|
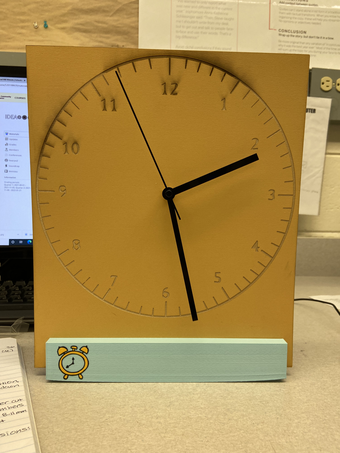
-Final Clock-
Finally I put all the pieces together and also put the clock mechanism on.